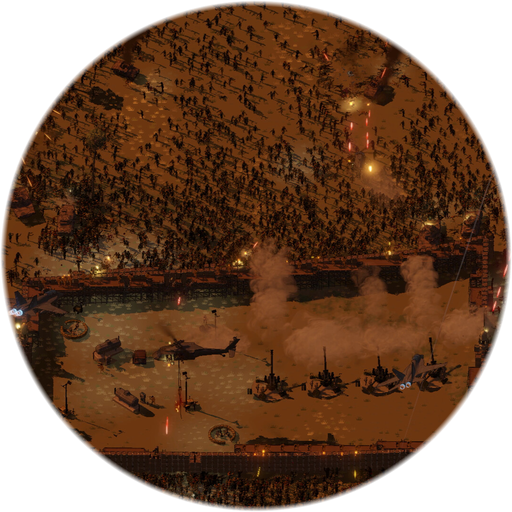
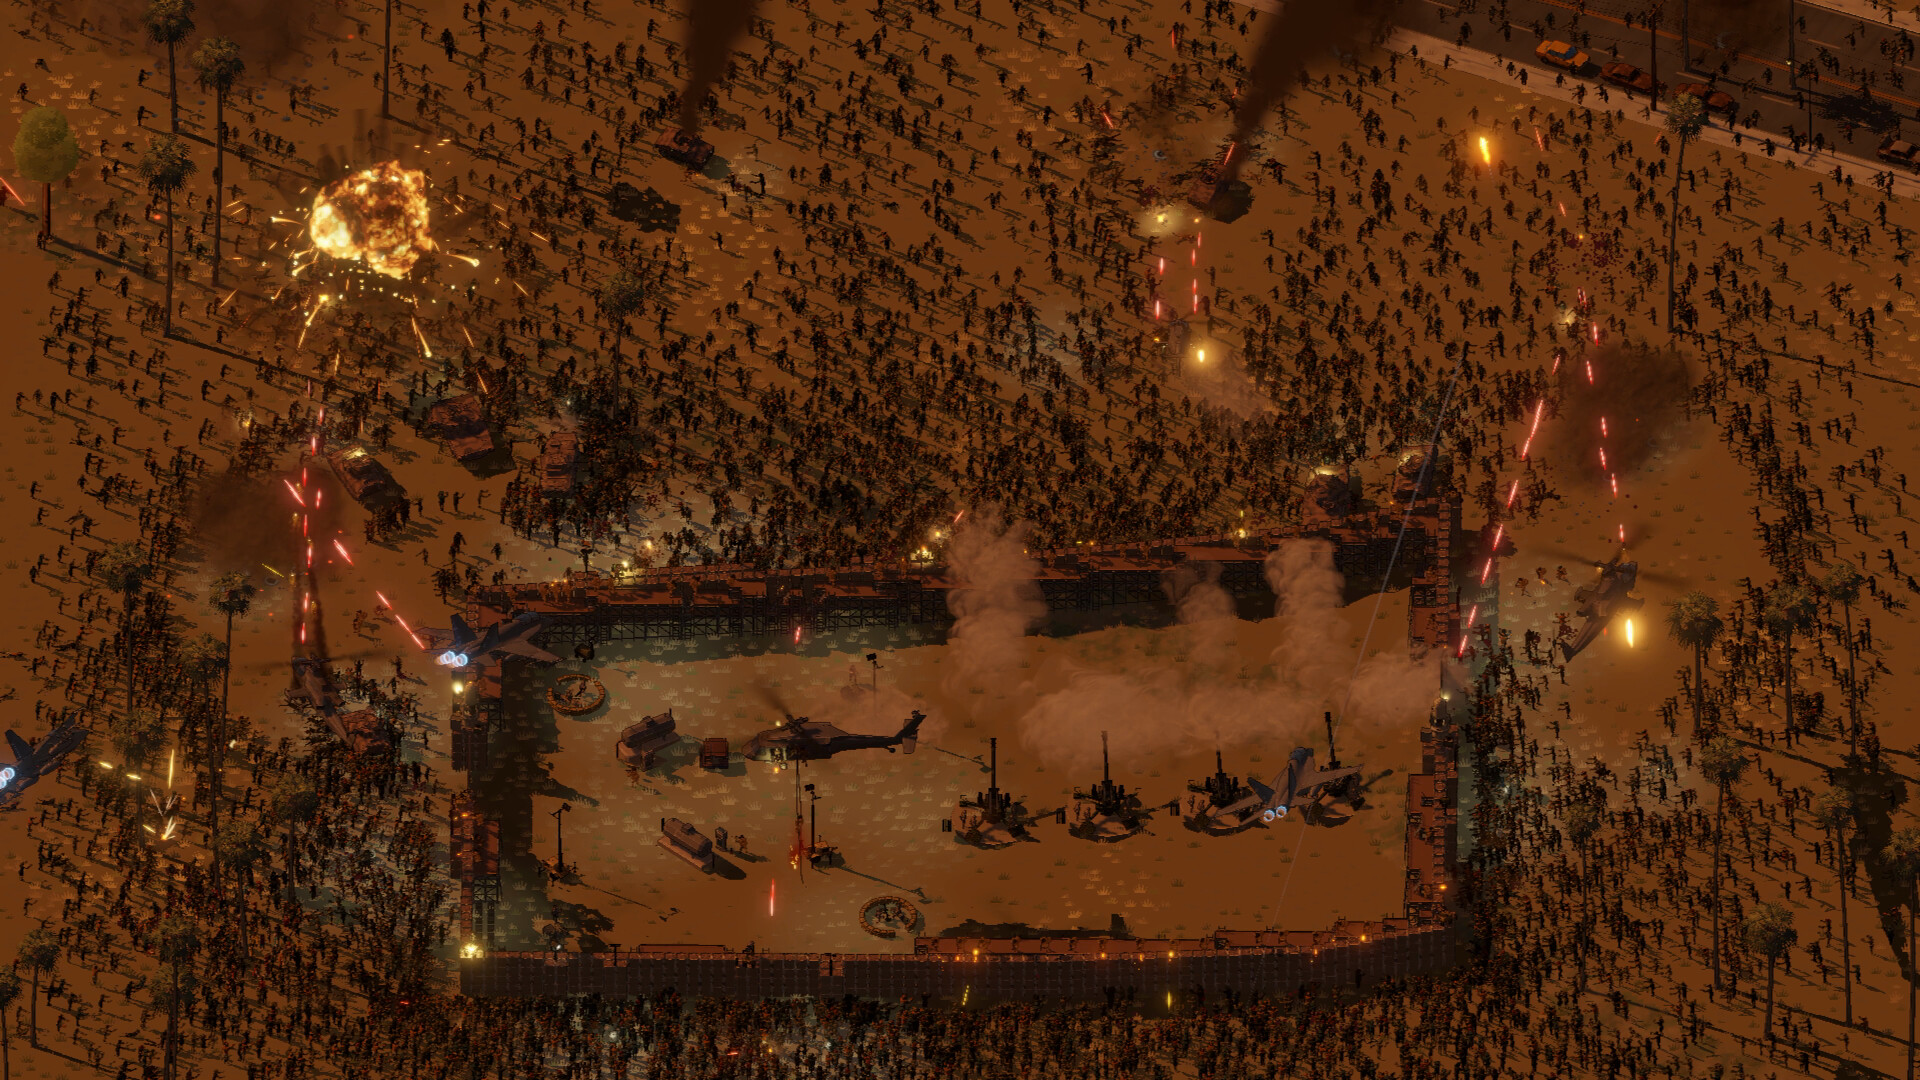
If you want to understand what makes Ebbtide a groundbreaking real-time strategy experience, you need to look closer at how its mechanics interact. Specifically, analyzing the ebbtide battlefield map reveals a seamless connection between macro-level city planning and micro-level tactical combat that changes how players approach survival games.
As you dive into the chaotic streets of Los Angeles, mastering the ebbtide battlefield map is the single most important skill you can develop to keep TF-1 “Ark” and your surviving units alive. From managing supply lines across shifting districts to directing heavy fire support, understanding every inch of this dynamic environment will mean the difference between total annihilation and successful evacuation.
Understanding the Dynamic Operations Interface
The core innovation of ProjectAlive’s upcoming title lies in how it handles spatial awareness and transitions. Unlike traditional strategy games that isolate you in separate mission screens, the operations interface acts as your master control center. When navigating the ebbtide battlefield map, you are looking at a living, breathing representation of a city under siege, stretching from the iconic Hollywood Hills down to the sprawling Port of LA.
Players can seamlessly scroll from a high-altitude strategic overview right down to street level without suffering a single loading screen. This fluidity allows commanders to react instantly to unfolding crises.
| Interface Layer | Strategic Focus | Typical Action Required |
|---|---|---|
| Global/World View | Carrier task force movement, region selection | Resupply coordination, choosing target areas |
| Operations Map (City) | District status (Hold, Crisis, Lost) | Routing convoys, evacuating isolated pockets |
| Battlefield View (Street) | Direct unit control, active combat | Fire support direction, defensive wall placement |
Community reports and developer insights emphasize that every single action matters. There are no hidden auto-resolve mechanics to bail you out of a bad position; every soldier lost or building destroyed on the ebbtide battlefield map permanently alters your campaign trajectory.
Managing Districts and the Escalating Horde
Surviving the initial Los Angeles campaign requires constant vigilance over the city’s 15 distinct districts. These zones will gradually slide from stable “Hold” status into dangerous “Crisis” states and, eventually, become completely “Lost” to the advancing horde.
Because you cannot save every corner of the city, prioritization is vital. You must decide which assets to pull out first and where to establish your defensive lines.
- National Guard & Police: Utilize local LAPD, LA County Sheriff, and National Guard units to hold chokepoints, delay enemy advances, or cover retreating personnel.
- Reinforcements: Call in elite Marines dispatched directly from Camp Pendleton to stabilize critical frontlines.
- Logistics & Convoys: Dispatch truck and helicopter convoys to haul essential supplies, rescue trapped civilians, or evacuate isolated squads.
A crucial tactical rule on the ebbtide battlefield map is line-of-sight visibility. Hordes are only rendered when they enter the direct observation range of your active forces, meaning blind spots can quickly turn into deadly ambushes.
| District Threat Level | Visual Indicator | Recommended Response |
|---|---|---|
| Hold | Stable Blue/Green | Maintain baseline security, run regular supply routes |
| Crisis | Amber/Yellow | Reinforce with heavy armor, prepare evacuation corridors |
| Lost | Red/Dark | Abandon position immediately, pull back all surviving units |
Combat Mechanics and Environment Destruction
When the dead strike, they do not simply charge into your firing lines; they utilize the environment to overcome your defenses. Zombies will pile on top of one another to scale high walls and rooftops, and they will even cling dangerously to helicopters hovering too close to the ground.
Furthermore, player positioning carries a devastating consequence: any human soldiers who fall in combat do not stay down—they quickly rise again as part of the relentless horde.
| Threat Type | Behavior | Countermeasure |
|---|---|---|
| Standard Swarm | Direct frontal assaults, bottlenecks | Use choke points and crossfire zones |
| Climbers | Piles up to scale walls and rooftops | Deploy elevated scaffolding and active clear-fire zones |
| Airborne Hazards | Clings to low-flying aircraft | Maintain altitude security, restrict hover times |
To survive these overwhelming waves, you must master the art of bringing heavy firepower down onto the ebbtide battlefield map without leveling your own defensive infrastructure.
Unleashing Heavy Firepower and Artillery
When local units become overwhelmed, the Ebbtide arsenal lets you rain absolute destruction upon the infected masses. However, resources are rarely infinite, and reckless destruction comes at a heavy cost.
[Operations Map] ---> [Identify Target Cluster] ---> [Select Fire Support] ---> [Impact & Structural Collapse]Review the primary fire support options available to modern commanders:
| Support Category | Specific Assets | Key Tactical Advantage | Potential Drawback |
|---|---|---|---|
| Artillery & Armor | M777 Howitzers, HIMARS | Long-range sustained bombardment | High ammunition consumption |
| Naval Support | Destroyer Guns, Tomahawk Missiles | Massive destructive power against heavy concentrations | Finite ship magazines |
| Air Support | F/A-18s, F-15E, F-35B, A-10s | Rapid response precision strikes | Requires clear airspace |
| Persistent Orbit | AC-130J Gunship, MQ-9 Drones | Extended loiter time and continuous surveillance | Vulnerable to prolonged engagement |
Because heavy weapons can easily bring down surrounding buildings, careful target designation on the ebbtide battlefield map is required to avoid trapping your own troops in rubble.
Building and Maintaining Forward Operating Bases
Conquering the map requires more than just raw firepower; you need sustained logistical support. Setting up Forward Operating Bases (FOBs) lets your forces dig in, but these outposts require constant maintenance.
- Fortifications: Raise HESCO barriers, reinforced concrete walls, and tactical gates to funnel enemy movement.
- Defensive Hardware: Place automated gun nests, CIWS systems, mortar pits, and strategic illumination arrays.
- Supply Lines: Regularly deliver building materials, ammunition, and fuel using hooklift trucks or helicopter sling loads.
| Resource Type | Primary Consumption Point | Resupply Method |
|---|---|---|
| Ammunition | Infantry units, armored vehicles, gun nests | Dedicated ammo depots at held FOBs |
| Fuel | Transport trucks, tanks, aircraft | Frontline fuel points |
| Construction Material | Wall repairs, barrier placement | Hooklift trucks & helicopter sling loads |
If the horde manages to cut your roads and disrupt your supply lines, even the best-fortified positions on the ebbtide battlefield map will eventually fall due to empty fuel tanks and dry magazines.
Transitioning from Local Defense to Global Campaign
Once you secure Los Angeles and consolidate your forces at the Port of LA, your campaign truly opens up. The assets, specialists, and surviving personnel you manage to extract form the core starting crew aboard TF-1 “Ark”.
From there, the strategy expands globally:
- Choose which international regions require immediate assistance.
- Bring the carrier strike group’s immense naval firepower within range of coastal strongholds.
- Resupply at friendly ports and rescue rare specialists who cannot be trained locally.
- Hunt down the elusive, hidden command nodes of the Nexus.
For more details on game features and system specifications, you can check the official Ebbtide Steam Store Page to add the title to your wishlist.
Frequently Asked Questions
What makes the ebbtide battlefield map different from traditional RTS maps?
The ebbtide battlefield map eliminates loading screens and separate mission instances by letting you scroll seamlessly from a high-level city operations view directly down into live street combat, where every loss carries permanent consequences.
Can I pause or adjust the speed of the operations map?
Yes, players can freely pause the simulation or run the operations map at up to 4x speed, allowing you to effectively manage multi-district crises without feeling overly rushed.
How do supply lines affect my units during combat?
Units consume ammunition and fuel dynamically during engagements. They can only rearm and refuel at established, secure bases, meaning you must actively protect your transport roads from the roaming horde.
Do fallen soldiers impact gameplay on the battlefield?
Yes, any human soldiers killed by the infected will rise again as part of the zombie horde, making defensive positioning and timely casualty extraction critical to long-term survival.